Self-storage facility security patrols San Diego operators rely on must do more than “drive by.” In an intensely competitive market, owners need patrol strategies that deter crime, reassure tenants, and keep units rentable—without blowing the budget. This guide shows how professional patrol programs reduce risk, integrate with cameras and access control, and report in ways your managers can actually use.
Why self-storage needs specialized patrols
Self-storage properties aren’t typical commercial lots. You have long sight lines, blind corridors, roll-up doors, after-hours access, and frequent short-term visitors—all conditions opportunistic offenders exploit. A generic guard tour won’t cut it. Effective self-storage facility security patrols in San Diego combine three ingredients:
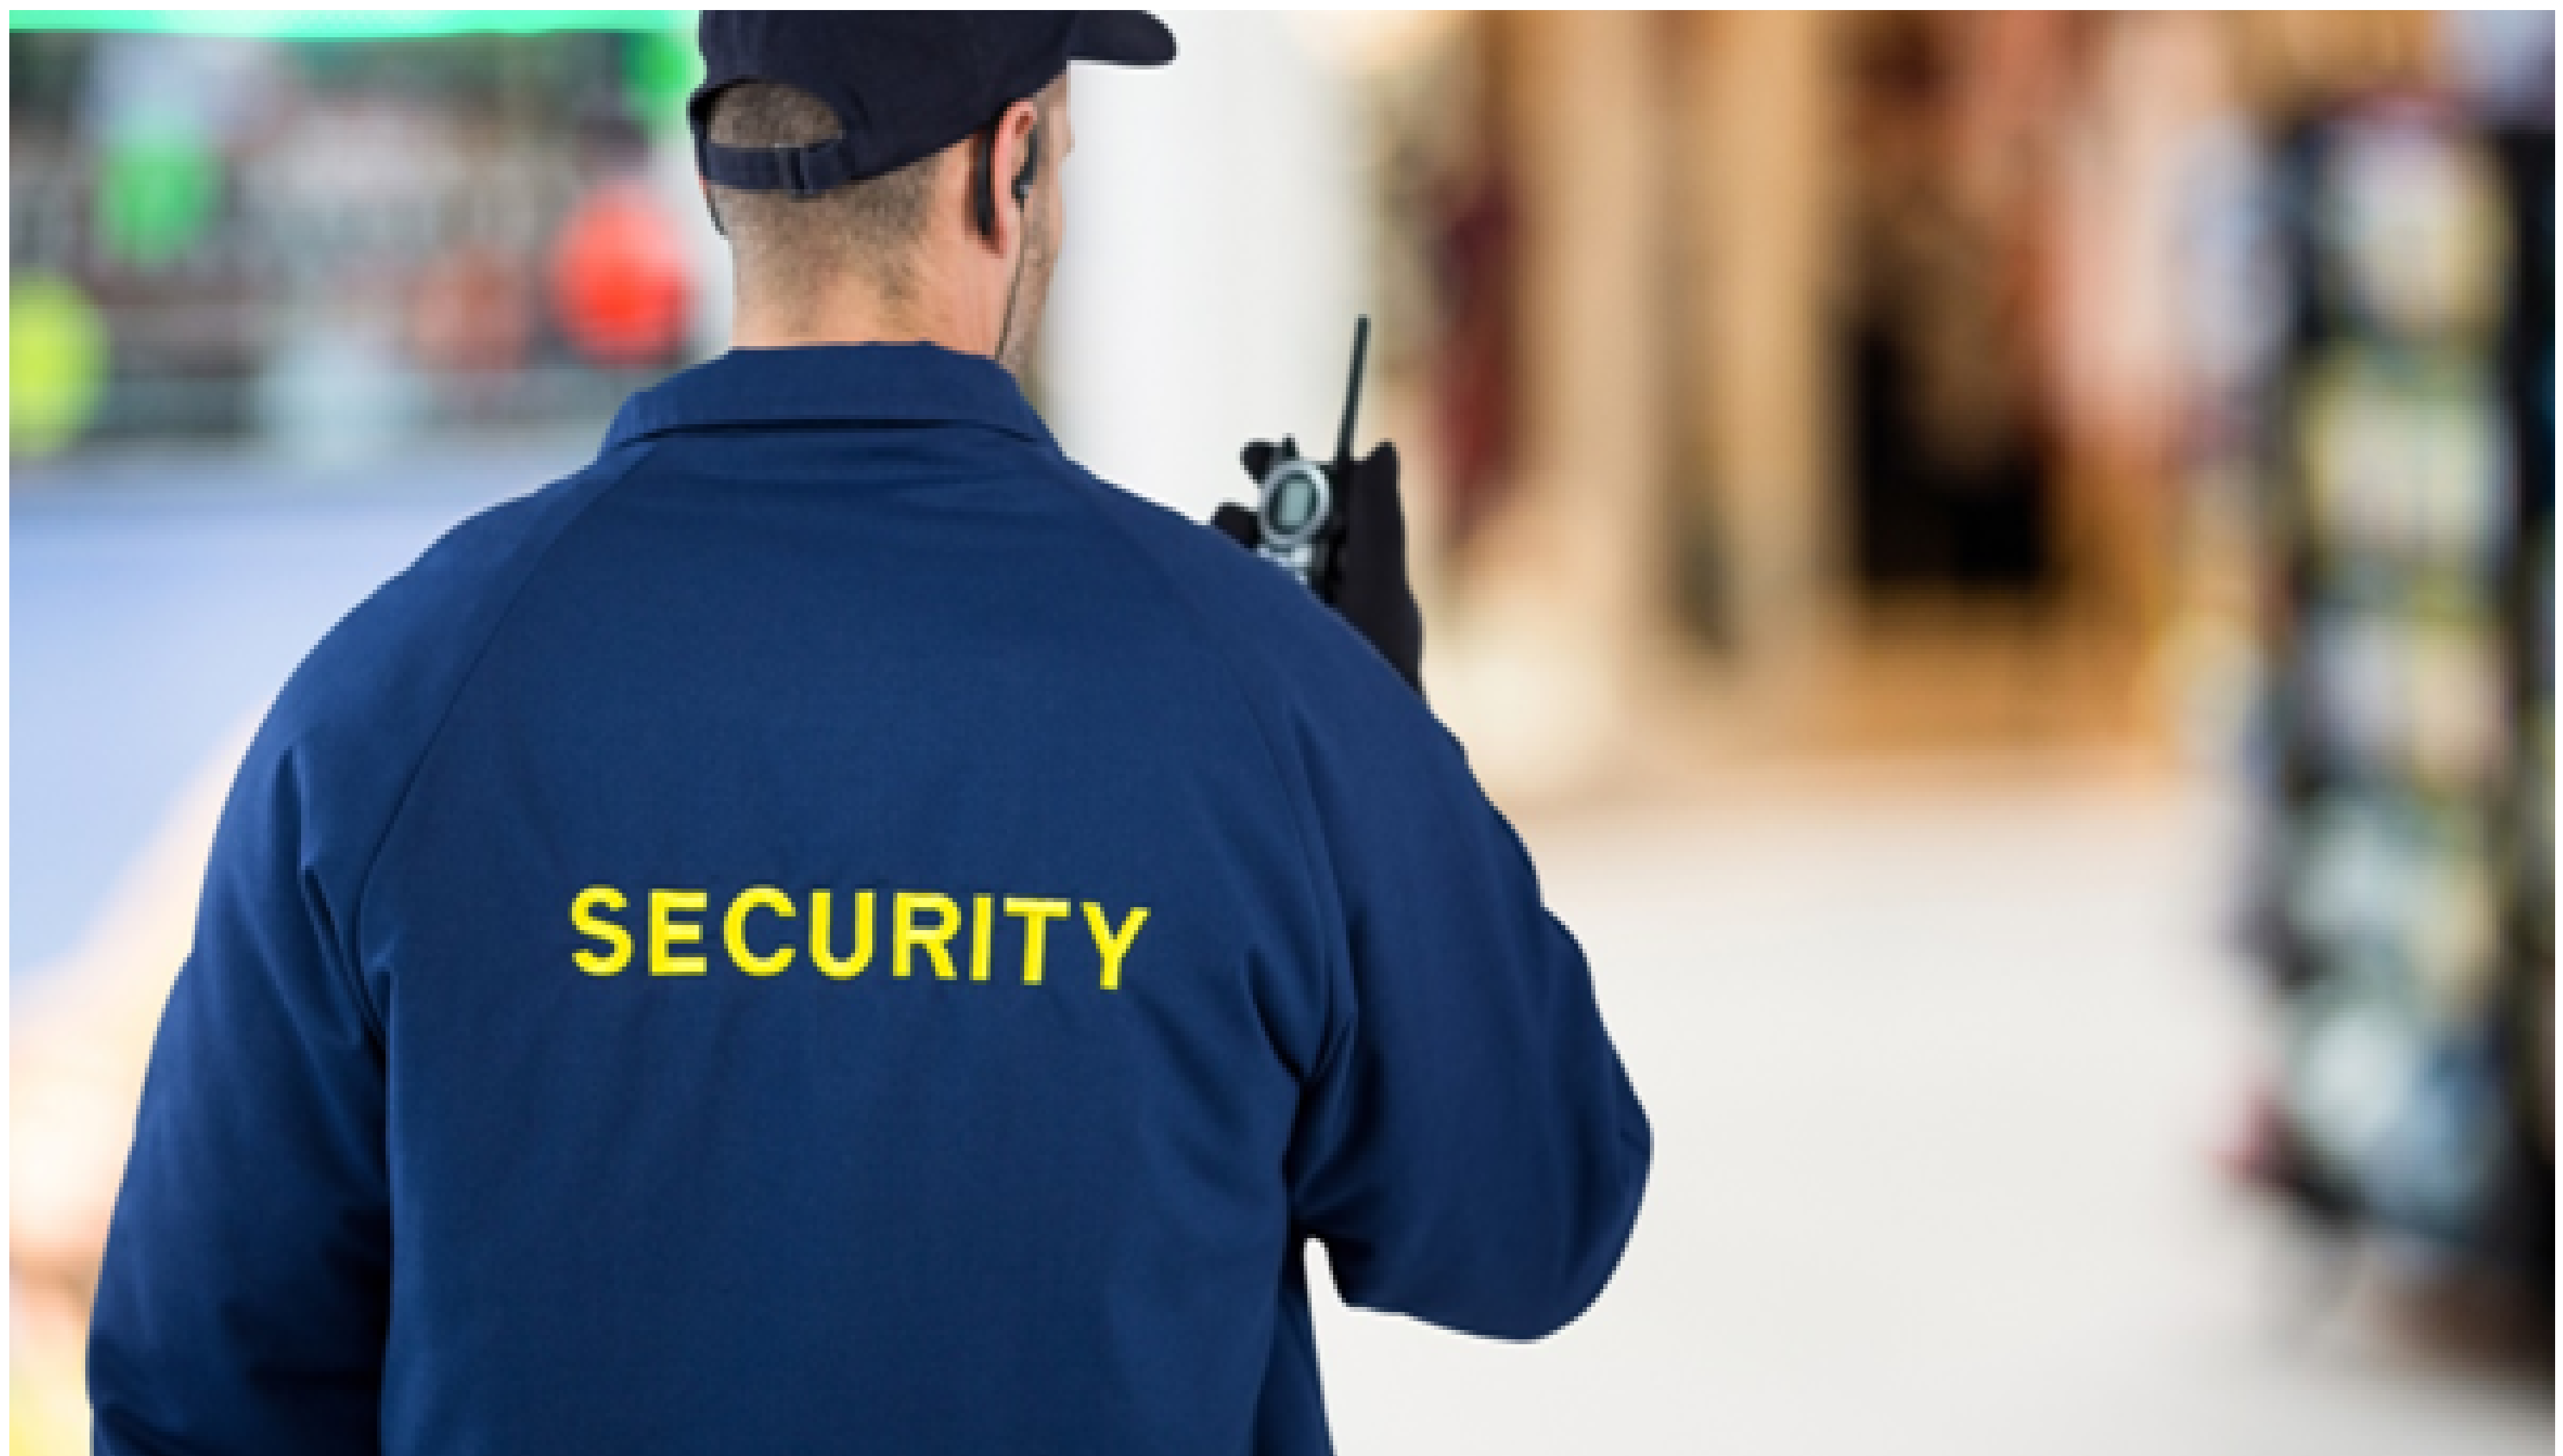
- Visible deterrence: marked patrol vehicles, high-visibility vests, and purposeful movement patterns.
- Smart verification: license-plate sweeps, access-control checks, and camera validations.
- Actionable reporting: time-stamped logs that tie patrol findings to specific buildings, rows, and unit numbers.
The result you want
- Fewer loitering incidents and trespass calls
- Faster discovery of break-in attempts (pried hasps, defeated cylinders)
- Clean, consistent audit trails for insurance and law-enforcement follow-ups
Patrol architecture: build the right loop for your site
1) Layered loops (exterior → interior → exception checks)
Structure each round in three passes:
Perimeter pass. Verify fences, gates, pedestrian doors, lighting, and sight lines from the street.
Interior drive-through. Sweep each row, pause briefly at dark corners, and validate camera sight lines.
Exceptions. Return to any flagged issues (recent unit auctions, reported disputes, tailgating entries, or cameras with motion alerts).
2) Time-randomization with fixed anchors
Keep two or three “anchor times” (e.g., gate closing, midnight, pre-dawn) but randomize other patrol windows to defeat pattern study. Good vendors provide patrol heatmaps so you can see your coverage variability week over week.
3) Task-based checks per round
Give officers a micro-checklist per loop:
- Gate arms cycle test (open/close)
- Keypad watch for tailgating or code-sharing
- Row-by-row look for cut/displaced locks, drilled cylinders, or fresh debris
- License plate spot-checks after hours (vehicles lingering beyond posted times)
Integrating patrols with technology you already use
Access control and gate monitoring
Patrols should confirm that credentials match entry logs. If your gate shows three entries for a code between midnight and 1 a.m., the officer should physically verify activity in those rows and note whether a companion vehicle “drafted” behind the approved user. For broader best-practice context on access control planning, CISA’s Interagency Security Committee provides an excellent guide you can share with stakeholders.
For stakeholders who want a broader framework on access control across facilities, see CISA’s “Facility Access Control” ISC Best Practice.
Cameras and remote video guarding
Live camera tours let a patrol officer verify motion alerts without leaving the vehicle. Even better, camera-to-car workflows let the dispatch center push annotated snapshots to the officer: “South fence, Row D, 02:17—person on bicycle.” The officer can then clear the area and attach images to the incident report.
tighten your physical entry layer with our guide to San Diego access control and gate monitoring.
License plate recognition (LPR)
Mobile or fixed LPR helps identify vehicles involved in repeated dumping, loitering, or after-hours hangouts. A simple watchlist (e.g., tow restrictions, banned visitors) reduces repeat headaches and supports police reports.
What great reporting looks like (and why it matters)
A solid patrol is only as good as the report you receive. Request:
- Time-stamped route logs with row/building identifiers
- Issue photos (damaged locks, propped doors, obstructed cameras)
- Disposition codes (cleared, warned, trespassed, police notified)
- Tenant-neutrality: never put unit numbers with tenant names in public-facing notes
- Trends dashboard: week-over-week count of loitering, forced-entry attempts, false alarms
Managers use these outputs to batch maintenance tickets, escalate chronic problems, and negotiate better insurance terms.
Tailoring patrol intensity to your risk profile
Not every property needs the same pace. Blend frequency with risk:
- Low risk (well-lit, limited after-hours): 1–2 randomized passes nightly, perimeter emphasis, weekly LPR audit.
- Moderate risk (mixed use, occasional incidents): 3–4 passes nightly, camera-driven exception checks, LPR nightly, monthly trend review.
- Elevated risk (recent break-ins or encampment pressure): hourly patrols during vulnerable periods (closing–2 a.m., 4–6 a.m.), coordinated camera tours, directed enforcement with trespass notices, and temporary on-site posts during repair windows.
People practices that reduce conflict and liability
- De-escalation first. Train officers to approach with lighting, distance, and clear commands—documenting every step.
- No “unit disputes.” Patrols do not mediate tenant access conflicts; they observe, document, and call management or police as your policy dictates.
- Contract-tight SOPs. Spell out locking procedures after auction clean-outs, rules for cutting locks (management present), and when to request police.
Cost controls: more coverage without runaway spend
- Bundle services. Combine nightly patrols with alarm response to avoid separate call-out fees.
- Use camera analytics smartly. Reduce false dispatches by teaching your system to ignore small animals and wind-moved shadows; have your vendor tune zones after the first week of alerts.
- Right-size the schedule. Many facilities get 80% of the benefit from concentrated coverage around closing and pre-dawn. Expand only if incident data warrants.
Implementation roadmap (30 days)
Week 1: Site audit. Walk the perimeter, rows, stairwells, elevators, and blind corners. Capture lighting levels, camera views, and access logs.
Week 2: Policy alignment. Write your patrol SOP, evidence photo policy, trespass procedure, and escalation tree (property manager, on-call, police).
Week 3: Pilot patrols. Begin with randomized loops, enable NFC proof-of-service tags, and activate LPR where permitted.
Week 4: Review & adjust. Hold a 30-minute call to review incident counts, heatmaps, and any camera dead zones; tune schedules and tech accordingly.
Why San Diego operators choose us
We provide self-storage facility security patrols in San Diego built on decades of private-security experience. Our marked patrol fleet, license-plate sweeps, and camera-to-car workflows give you visible deterrence and fast incident resolution. Reporting is clean, legal-team-ready, and mapped to your property layout.
Call us at (888) 205-4242 or email [email protected] to request a site audit and a customized patrol plan.
FAQ: Quick answers for managers
Do patrols replace cameras? No. Patrols and cameras amplify each other—cameras catch motion, patrols verify and intervene.
What about false alarms? We tune alert rules and route video clips to the officer before dispatch to reduce no-issue call-outs.
How fast is the alarm response? We stage vehicles in coverage zones to cut response time during closing and pre-dawn windows.